How to Make My Own Book of Shadows
If you’ve ever found yourself scribbling spells on scrap paper, tucking moon phase notes into your diary, or saving screenshots of crystal correspondences—welcome. You’re already halfway there. Learning how to make my own book of shadows was one of the most freeing things I did in my craft, and I promise, yours will be just as personal and powerful.
There’s no single right way to do it—only what works for you. Whether you’re a seasoned witch or brand new to the path, a Book of Shadows is a place to gather what speaks to your soul.
Why Learn How to Make My Own Book of Shadows?
Your Book of Shadows is your magical companion, a reflection of your path, your practice, and your experiences. It’s not about perfection—it’s about connection. When I first started, I thought I needed the “right” format. Spoiler: I didn’t. I just needed something that felt like mine.
Here’s what a Book of Shadows can include:
-
Spells you’ve written or used
-
Herbal correspondences
-
Moon phases, sabbats, and rituals
-
Tarot and rune notes
-
Dreams, signs, and personal reflections
-
Deity work or ancestral messages
-
Recipes, oils, or bath blends you’ve crafted
Think of it as part magical journal, part reference guide, and part spiritual scrapbook.
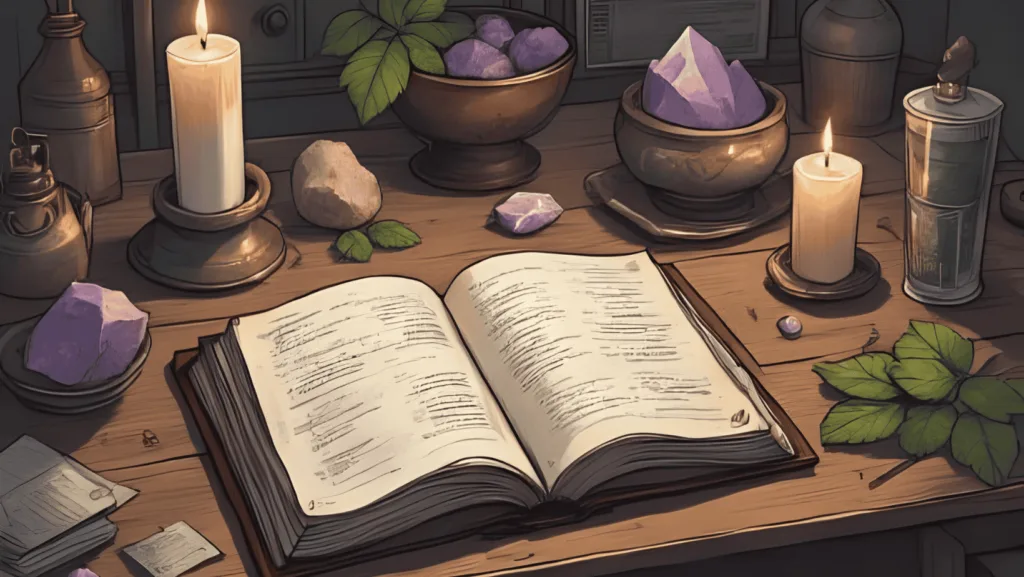
1. Choose Your Format
There’s no rule here—go with what you’ll actually use.
-
Notebook or journal: A simple lined or dotted book you can write in by hand.
-
Binder or folder: Great if you want to move pages around, add printouts, or create themed sections.
-
Digital version: Not traditional, but very practical. Google Docs, Notion, or an app like GoodNotes work well.
-
Scrapbook style: Add photos, pressed herbs, printed charts—get creative.
Mine started as a Google Doc and is now a battered leather folder with print outs, taped-in herbs, smudged ink, and many many oil & candle wax stains—and I wouldn’t change it for the world.
2. Start With the Basics
Don’t wait until you have “enough” to start. Add what you’re working on right now.
Some good beginner sections might include:
-
Your current altar setup
-
The moon phases and how they affect your spells
-
Herbs you use often and their meanings
-
A simple spell or ritual that’s worked for you
-
Your magical ethics and beliefs
Learning how to make my own book of shadows taught me that it’s not about copying someone else’s craft—it’s about documenting your own.
3. Add Magic Over Time
Your Book of Shadows isn’t supposed to be finished. It evolves with you. Some pages might be messy. Others might be beautifully decorated. Some may even be torn out when you change your mind—and that’s okay. You’re growing, and so is your craft.
Try adding:
-
A seasonal section (Imbolc, Samhain, etc.)
-
Notes from your tarot or oracle readings
-
Symbols or sigils you create
-
Journal entries after rituals or meditations
-
Dream interpretations or intuitive downloads
This is where the magic happens—not in the layout, but in the doing.
4. Make It Personal
Add your voice. Use regional dialect if it feels right. Doodle in the margins. Press petals from your garden. Write out spells you’ve adapted from books, then tweak them when they don’t quite land.
You might include quotes, song lyrics, photos, or even family stories if they have magical meaning. This is your space to honour the craft your way.
When I was learning how to make my own Book of Shadows, I realised I didn’t need permission. And neither do you.
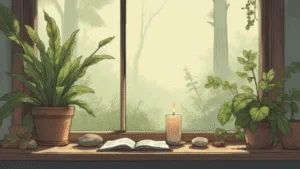
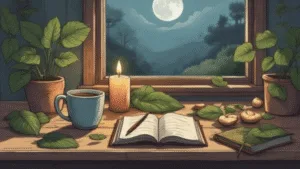
A Note from the Kitchen Table
There’s something deeply grounding about flipping through your own Book of Shadows with a brew in one hand and a candle lit on the windowsill. It doesn’t have to be Instagram-worthy. It just has to work for you.
If you need a little magical help getting started, I’ve got printable pages, ritual kits, and inspiration waiting over at my Etsy shop. Everything I make is created with care, intention, and that distinctly Northern touch of practicality.
Discover more from Lancs Green Witch
Subscribe to get the latest posts sent to your email.